October, 2019
What makes a house livable? What must be in place before you’d consider moving into a house? Window trim? Water coming out of the kitchen faucet? A kitchen faucet? A bathroom? Interior walls of any sort? I feel a bit crazy to say that none of this (besides the all-important window trim) do we have, and yet I’ve been excitedly making lists of what to bring with us on our soft move-in.
The fact is, we’ve been building this house for four years, dreaming it for six, and now that we have four finished walls and a roof, I’m dying to move the heck in, whatever the costs.
Long ago (at least two months now) we scraped and sanded all the woodwork to remove any splashes, drips, gobs, and errant brushstokes of lime and plaster. (See my previous post for an ominous warning to keep your woodwork clear of plaster: Whitewash and a Slide Show.) We scoured every inch of woodwork, from each ceiling joist to around every timber, cursing every clumsy splash made in our haste to slap on the plaster. Nevertheless all it took to clean up nearly all the wood was elbow grease and a veritable fleet of sanding implements. The only woodwork permanently scarred has been our beautiful home-grown oak baseboard, which we’ll stain dark, hopefully enough to cover all our indiscretions.
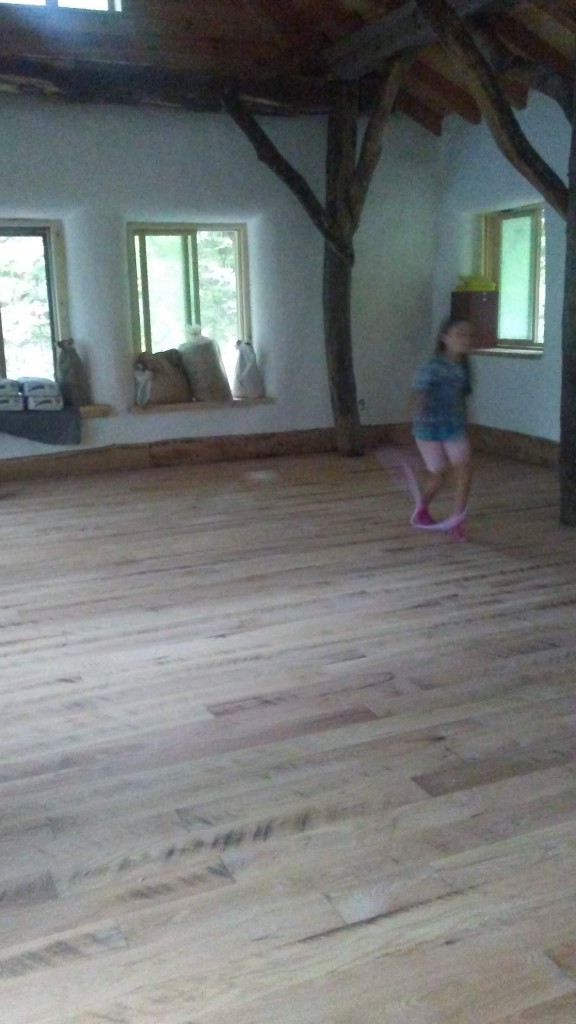
Next on the agenda, working downward from the ceilings, windows, and posts, was the floor. A daunting task. Three years ago, we installed our finish floor boards, rough-sawn at the local mill, before we had even raised the frame of the house. Since then they had gotten wet and then dried so cupped that I sometimes tripped just walking across the floor; they had turned silver with age, and then were insulted in their old age with a generous splattering of plaster. All in all, they put the “rough” in “rough-sawn.”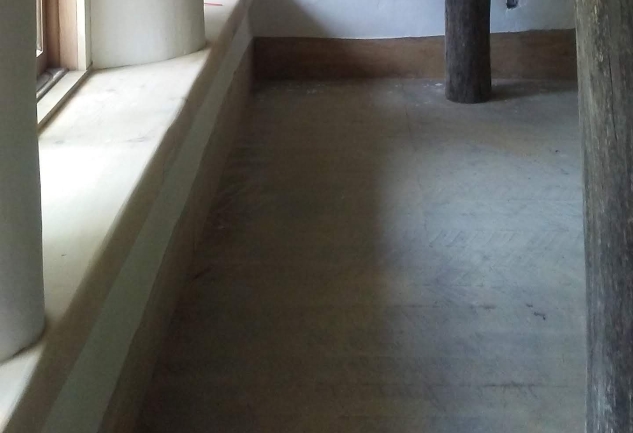
It took some time behind the sander to fix them.
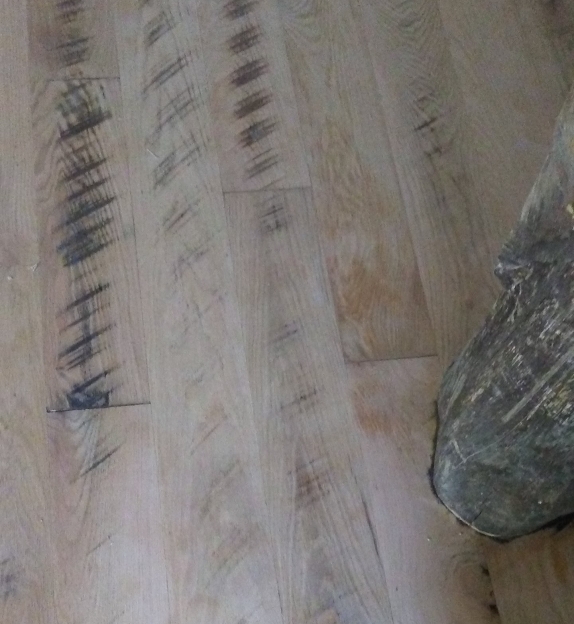
That may be an understatement. J. spent days behind a borrowed floor sander with the coarsest grit sandpaper he could find. Then passed the floor again with the next finer grit, then finer again. Back and forth, back and forth. First it looked tiger-striped, with fresh blond wood interspersed with the old silver/black/limey-white. With each pass of the sander, we wondered: is this good enough? How nice is nice enough for this house? In other words, how much of our lives (read: J.’s life) should we sacrifice to make this house beautiful? And if you know us by now, you know the answer to the last question: quite a bit.
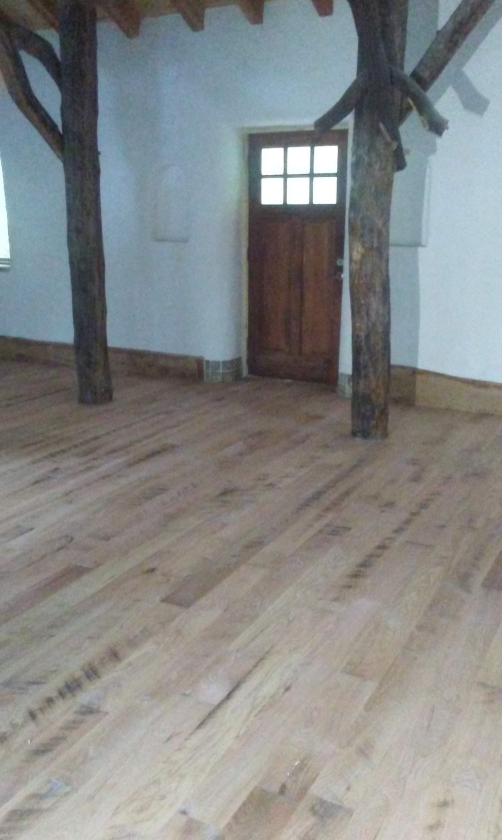
We chose to finish the floor with Rubio Monocoat, a wax/linseed oil coating that leaves the wood feeling and looking like wood, instead of polyurethane, which feels like a coat of plastic. The downside of this beautiful surface is its slightly more complicated application. Although, true to its name, it only needs one coat, that one coat needs to be buffed on and the excess immediately buffed off.
So we rented a buffer. J. mixed the coating, thereby starting the stopwatch (the stuff needs to be applied six hours after being mixed).
And immediately discovered that our generator couldn’t power the buffer. So he returned it and went to a different store to rent a different brand.
Which also didn’t work.
Spurred on by the rapidly expiring drying time of the (expensive) floor coating, we found ourselves on hands and knees, a pair once again united by the need to accomplish an urgent task. J. scrubbed the coating into the floor; I crept after him with a towel, rubbing incessantly until the surface felt dry and slightly waxy. We recruited the children, who took turns rubbing gamely beside me, singing songs to pass the time, until finally, two knee-crushing and shoulder-aching days later, the floor was done.
Floor, check.
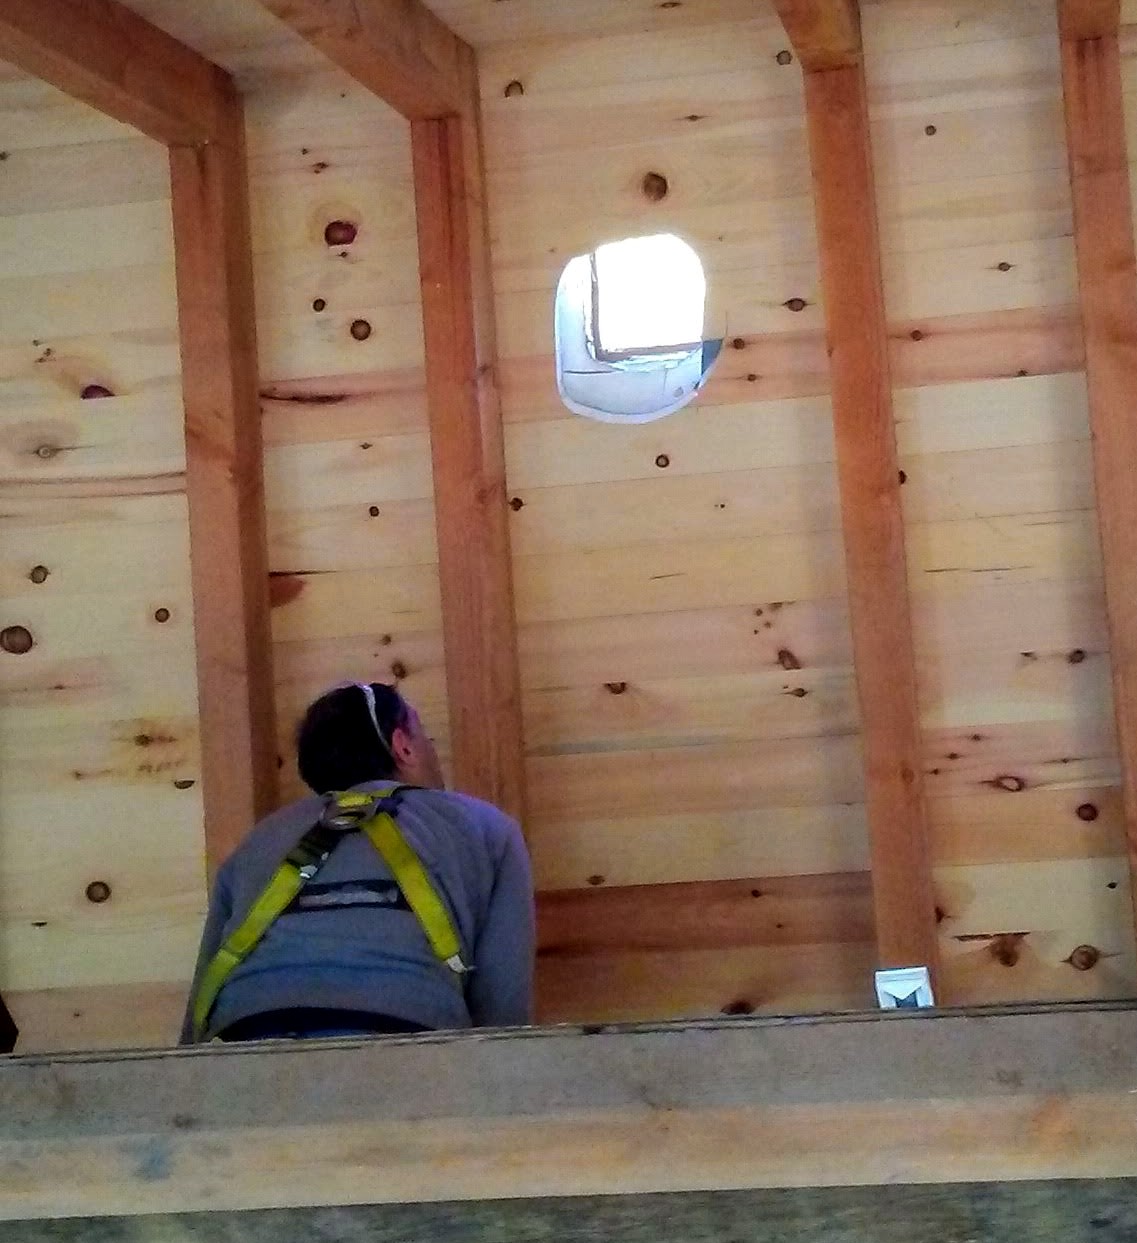
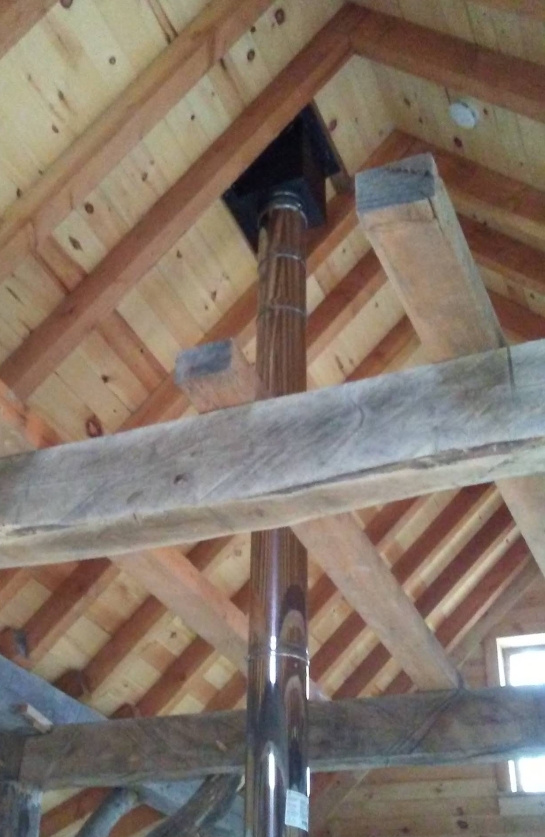
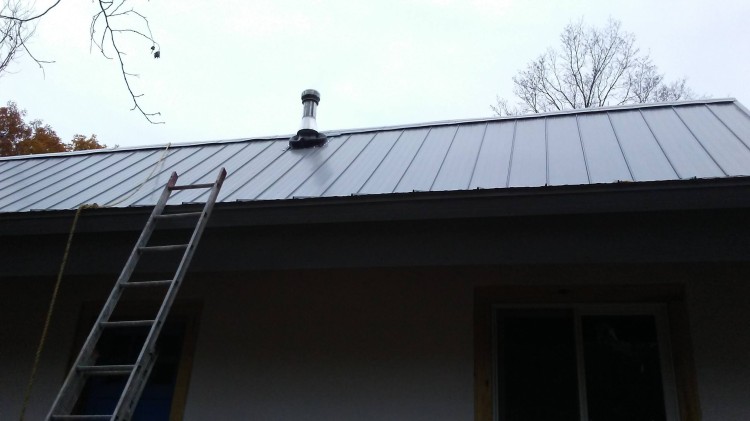
Next up: since winter is coming on again, heat. This has been a very wet fall, so J. had to wait for a day that the roof was dry to clamber up and cut the hole for the chimney.

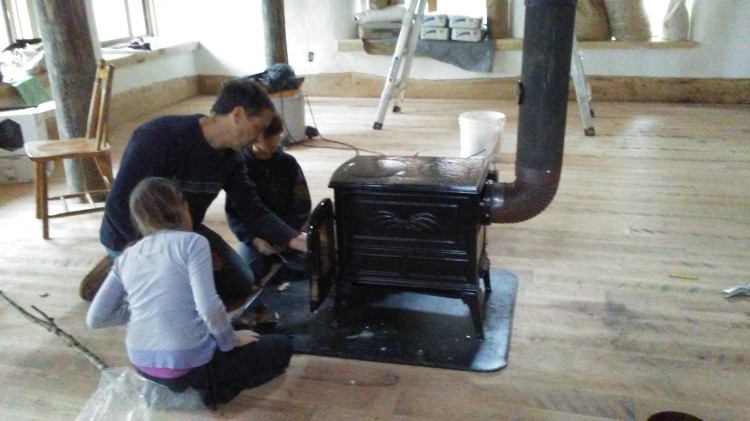
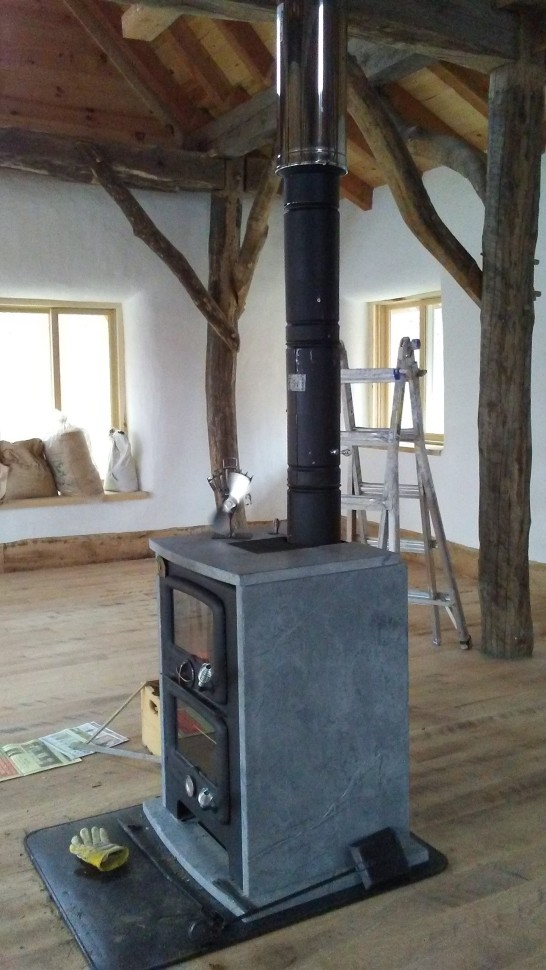
We bought this cute secondhand woodstove, hauled it up the hill, attached it to the chimney, and nearly burnt the house down with the first firing. Wait, that doesn’t sound right. Let me try again. WE NEARLY BURNT THE HOUSE DOWN WITH THE FIRST FIRING. Our house. That we’ve been spending the last four years building.
Here’s the story. We attached the chimney to the stove, then shimmied the stove around a little to get the chimney plumb, during which two chimney pieces near the ceiling silently disassembled themselves. So when we started the fire, 16 feet of chimney were cantilevered above the stove by 3 screws, with a one inch gap between the two unattached sections.
J., thankfully much more vigilant than I, caught the problem before leaving for the night and shored up the chimney, then built a much more stable version the next day.
Unfortunately, over the next few days as we lit more fires in the little stove, we discovered that we had bought the wrong stove. Mostly because we had been planning to cook our meals on it for the next year, and the thing wouldn’t boil a pot of soup. Cute it was, but we at The Clay Life expect our cute things to work for their livings. In the parlance of ceramics, we say “form and function.” In permaculture, we call it “stacking functions.” At The Clay Life we say “Heat the house, cook and bake, heat water, and look good while doing it or you’re out of here!”
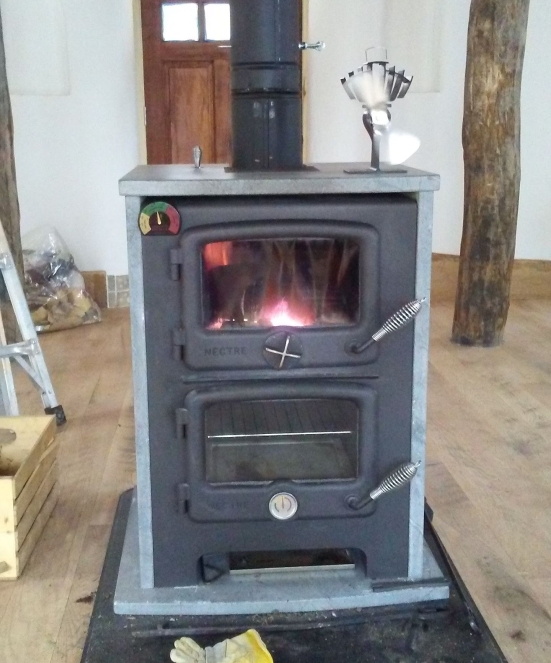
So we went back to Craigslist the next day after the failed soup experiment, and lit immediately upon our stove at the end of the rainbow. Our pot-of-gold stove. Although it cost about half a pot of gold and weighs maybe two pots of gold, we think it’ll be worth it. It’s called the Vermont Bun Burner, and it’s a woodstove with a bake oven below it, all wrapped with soapstone, which gives a nice even heat once it warms up. It’s already plumbed to heat water once we get to it, and you can cook right on the top.
So what’s next? Water? Interior walls? Electricity? Kitchen? Loft space?
Why, moving in, of course.

Thank you for sharing the progress. It looks terrific! May you have many, many happy memories in your home.
LikeLike
Thanks, Dave!
LikeLike
Your house is beautiful! You all have worked so hard and persevered. I look forward to seeing each new finished piece. Great job!
LikeLike
Thanks, Mom!
LikeLike