
July, 2017
I know it’s been a long time since I posted (in fact, I’ve begun to refer to this site as an “occasional” blog) but I refuse to apologize. Life has been a little full lately, is all…
While the kids and I have been settling in to the Firehouse, making the apartment above into a home and whipping the studio into working order, J. has been busily about his work of building our house in the woods.

The first job for him was simply to roll the logs/future timbers up onto the building platform. This would have been a lot more difficult for him if he did not have such a strong wife. Also the log arch helped. The log arch (blue tool on the left of the photo) has a pair of tongs hanging between the two wheels, with which you can grab the log, and an extendo-handle which gives enough leverage to lift the log and drag it along the ground. J. utilized both his log arch and his super-strong wife to help gather the logs from where they were dropped all along the hillside up to the platform.

This ramp, a la Noah’s ark, facilitated the trip up to the platform. The cleats gave us a chance to breathe during the journey without each log rolling back down to the ground.
As a novice to this process, I wanted to know why we couldn’t notch the logs while they were down on the ground. Once notched, with some material removed, I argued, they would then be lighter to move. (The difference, I was sure, would be palpable.) J. patiently explained that since he wants the walls of our house to be vertical and the timbers to actually hold up the roof, he must be able to lay them out on a level surface. And the platform is the only level place in our 17 acres.
We’ll see who comes out ahead in that little marital disagreement…
Now that the logs are on the platform, the notching has begun. Since we’re leaving the logs round, the trick is to cut precise notches into odd shaped tree chunks–because, like us, the trees in our woods prefer not to grow in straight lines. So first, J. finds the center line of the top of each log by snapping a line from the middle point of the bottom end to the middle point of the top end. Now he knows enough to square off the top the logs and then, using the chainsaw, cut giant “ears” into them. In this picture, four of the posts are loosely lined up, with the wall plate that will receive them on the left.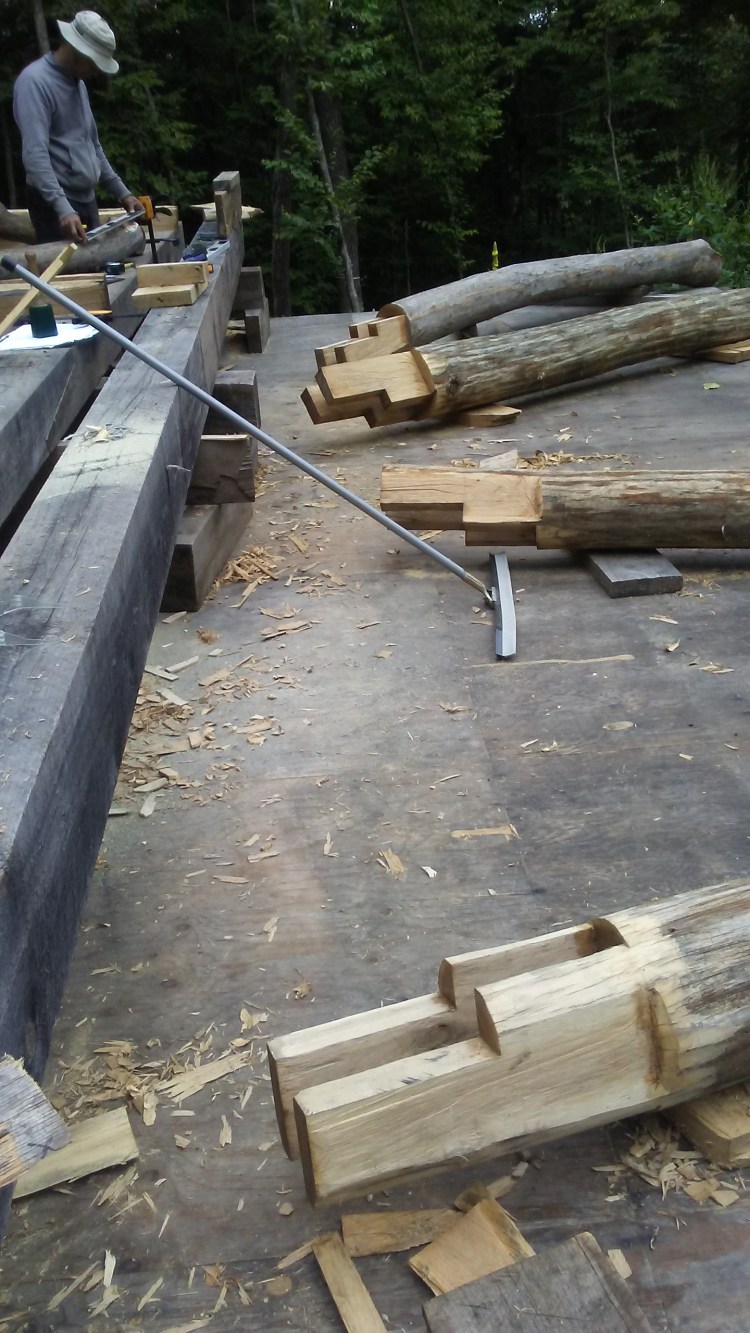
Since the cuts of a chainsaw is a quite rough, each joint must be significantly refined with a chisel. (You guessed it, this is where my grunt labor comes in again…) We have these lovely timber-framing chisels that, when sharp, are a joy to use. They cut pine timbers like butter, and our tough, stringy oak timbers like, well, pot roast. A tender pot roast. Maybe not the best analogy.
Once the ears on the posts are cut, they must be “let in” to the wall plates an inch or so:

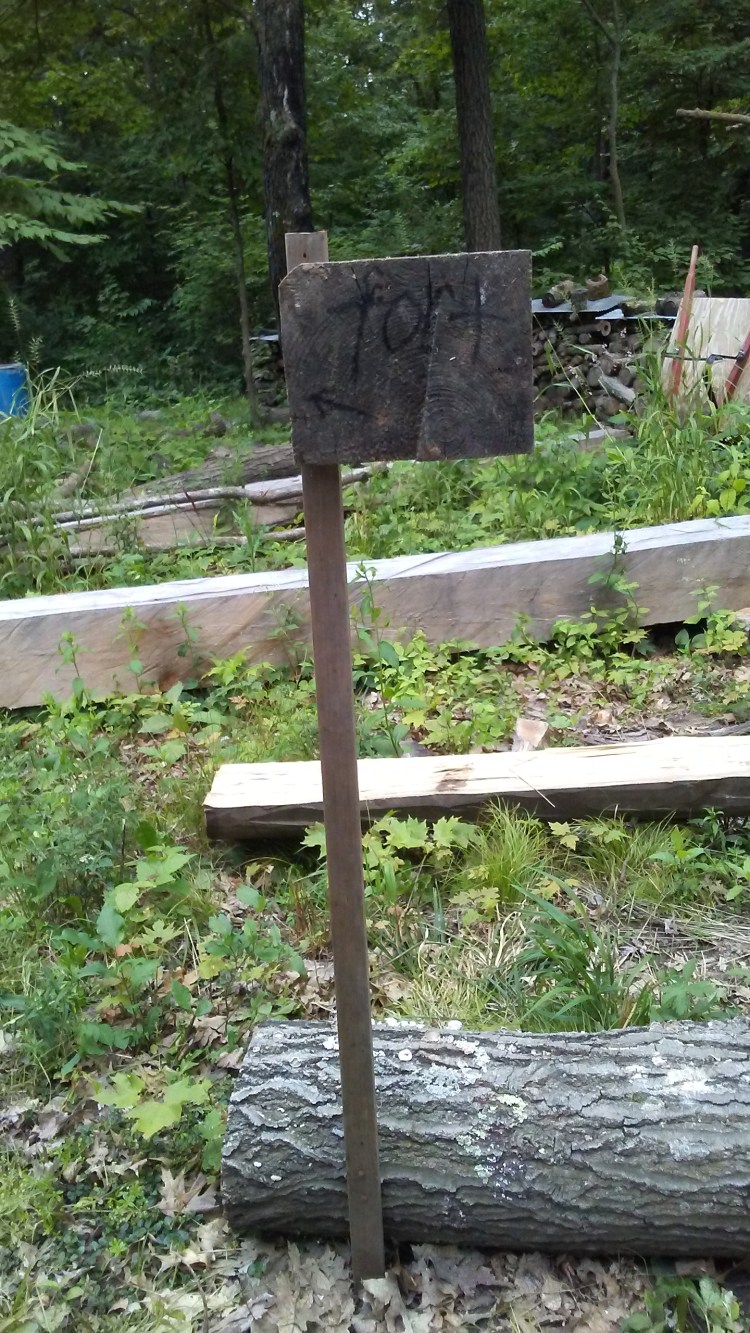
Of course they must be square, or so J. tells me, so the wall will stand straight. Here’s our giant homemade square:

Once the posts are perpendicular to the wall plate, we let in the diagonals, which hold everything square. The diagonals are, inexplicably, called “knee braces.”
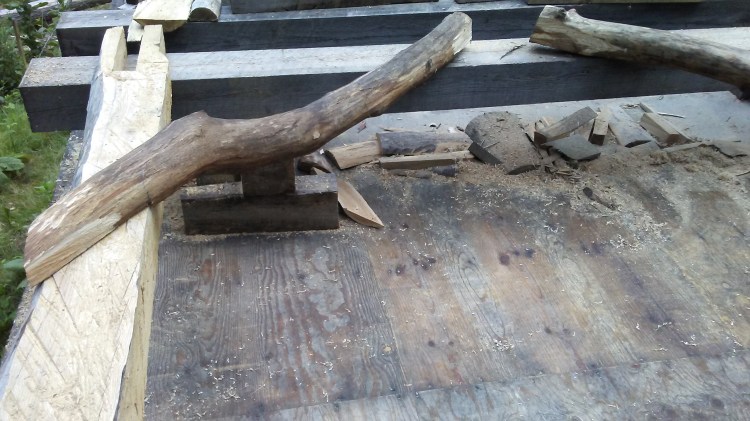
These will be pegged in place, but the joint is also notched with a dovetail so that if the peg breaks or rots, the knee brace will still stay in place.
I’m sure J. has been working hard and doing good work, but while this has been going on something has actually been accomplished:
And here’s the finished fort, with its proud resident/builders:
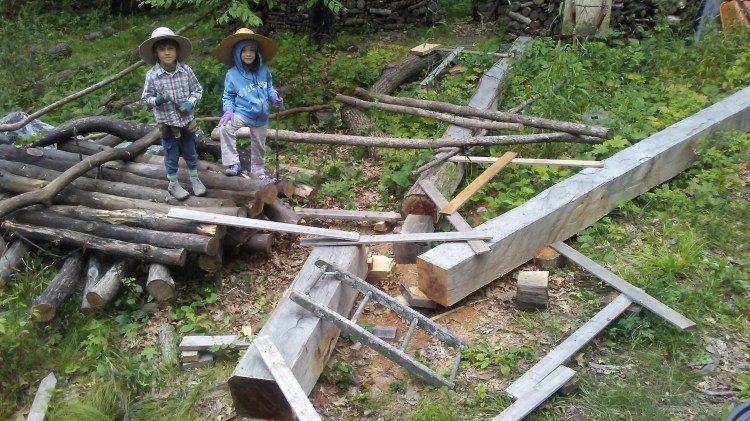
See if you can beat that, Papa!
