June, 2019
Have you ever staked a 4 year project on a skill you did not have, had only read about, and half of that was horror stories online, and most of the rest urged you to hire a professional; and the appropriate materials were unavailable in your area so you had to make do with substitutes based on knowledge and experience you did not have; and you knew that even the professionals rely on conveniences (like electricity and running water) to make the job easier, and you don’t have those, so it’ll be even harder for you, a novice?
I have.
[Apologies and winks to Tom Papa]
It’s hard to fully describe the almost tangible fear/anxiety/elation we felt as we finished the last details on the straw walls. Applying the necessary three coats of plaster, inside and out, would be the last big job before we could move in, but exactly how it would go and what it would be like, we could only guess. Plastering was a dark fog looming before our very toes.
The urgency to begin only grew as we ticked off the final preparatory details on our list, and May turned into June. The early start we had planned evaporated. Since plaster needs to cure frost-free for two weeks at least, which in our climate means finishing up by the beginning of September at the latest, and because of our utter lack of experience we had no idea how hard it would be or how long it would take to apply three coats of plaster, we began to develop facial twitches.


Finally, all was ready. We assembled our plastering tools, gathered our materials, flexed our muscles, and went to bed early.
The next morning, J. woke up with a cold, the kind that keeps you in bed for two days. So the trepidation grew. I had nightmares. My stomach had butterflies.
When J. was finally healthy the whole family tramped into the woods for the ceremonial first day of plaster.

We had it all set up. Loosely left to right: generator to power the cement mixer, pile of sand, cement mixer, stainless steel milk tank full of rainwater, vinegar to neutralize spills, tools for mixing, and buckets of lime soaking in water. (The wood scraps behind are simply an incidental, if aesthetically dubious, backdrop.)
First off, we discovered that the cement mixer wouldn’t work. Our generator wasn’t strong enough to power it. But after borrowing a neighbor’s generator, we discovered that it still didn’t do a thorough job of mixing. Turns out, you need a mortar mixer for plaster–a fact I had read, but sometimes I like to test these things out for myself.
So here’s our altered set-up:

A final job before plastering: wetting the wall, to keep the bales from sucking moisture out of the plaster too quickly. A well-equipped plasterer has a hose and water supply for this, but we’re using a garden sprayer filled with rainwater. We find it works quite well, if a little slow. But we’re used to slow. Plus, using a tool to build our house which was originally intended to spray pesticides feels a little like turning a sword into a plowshare.

Here is the recipe we used for the first coat of plaster:
- 1 (4 gal) bucket type S hydrated lime, slaked in water so it’s putty-like but in reality still pretty sloshy
- 2 (4 gal) buckets sharp sand (mason sand or concrete sand)
- 1 gallon packed, chopped straw
- 1/3 gallon fine grog (from the local pottery supply) to act as pozzolan, a material to make the plaster more weather-proof
- water to make a workable (read: mixable by hoe) mud.
* When plastering over the stucco lath (aka blood lath) we omitted the straw, which had been keeping the plaster from fully entering the holes in the mesh.
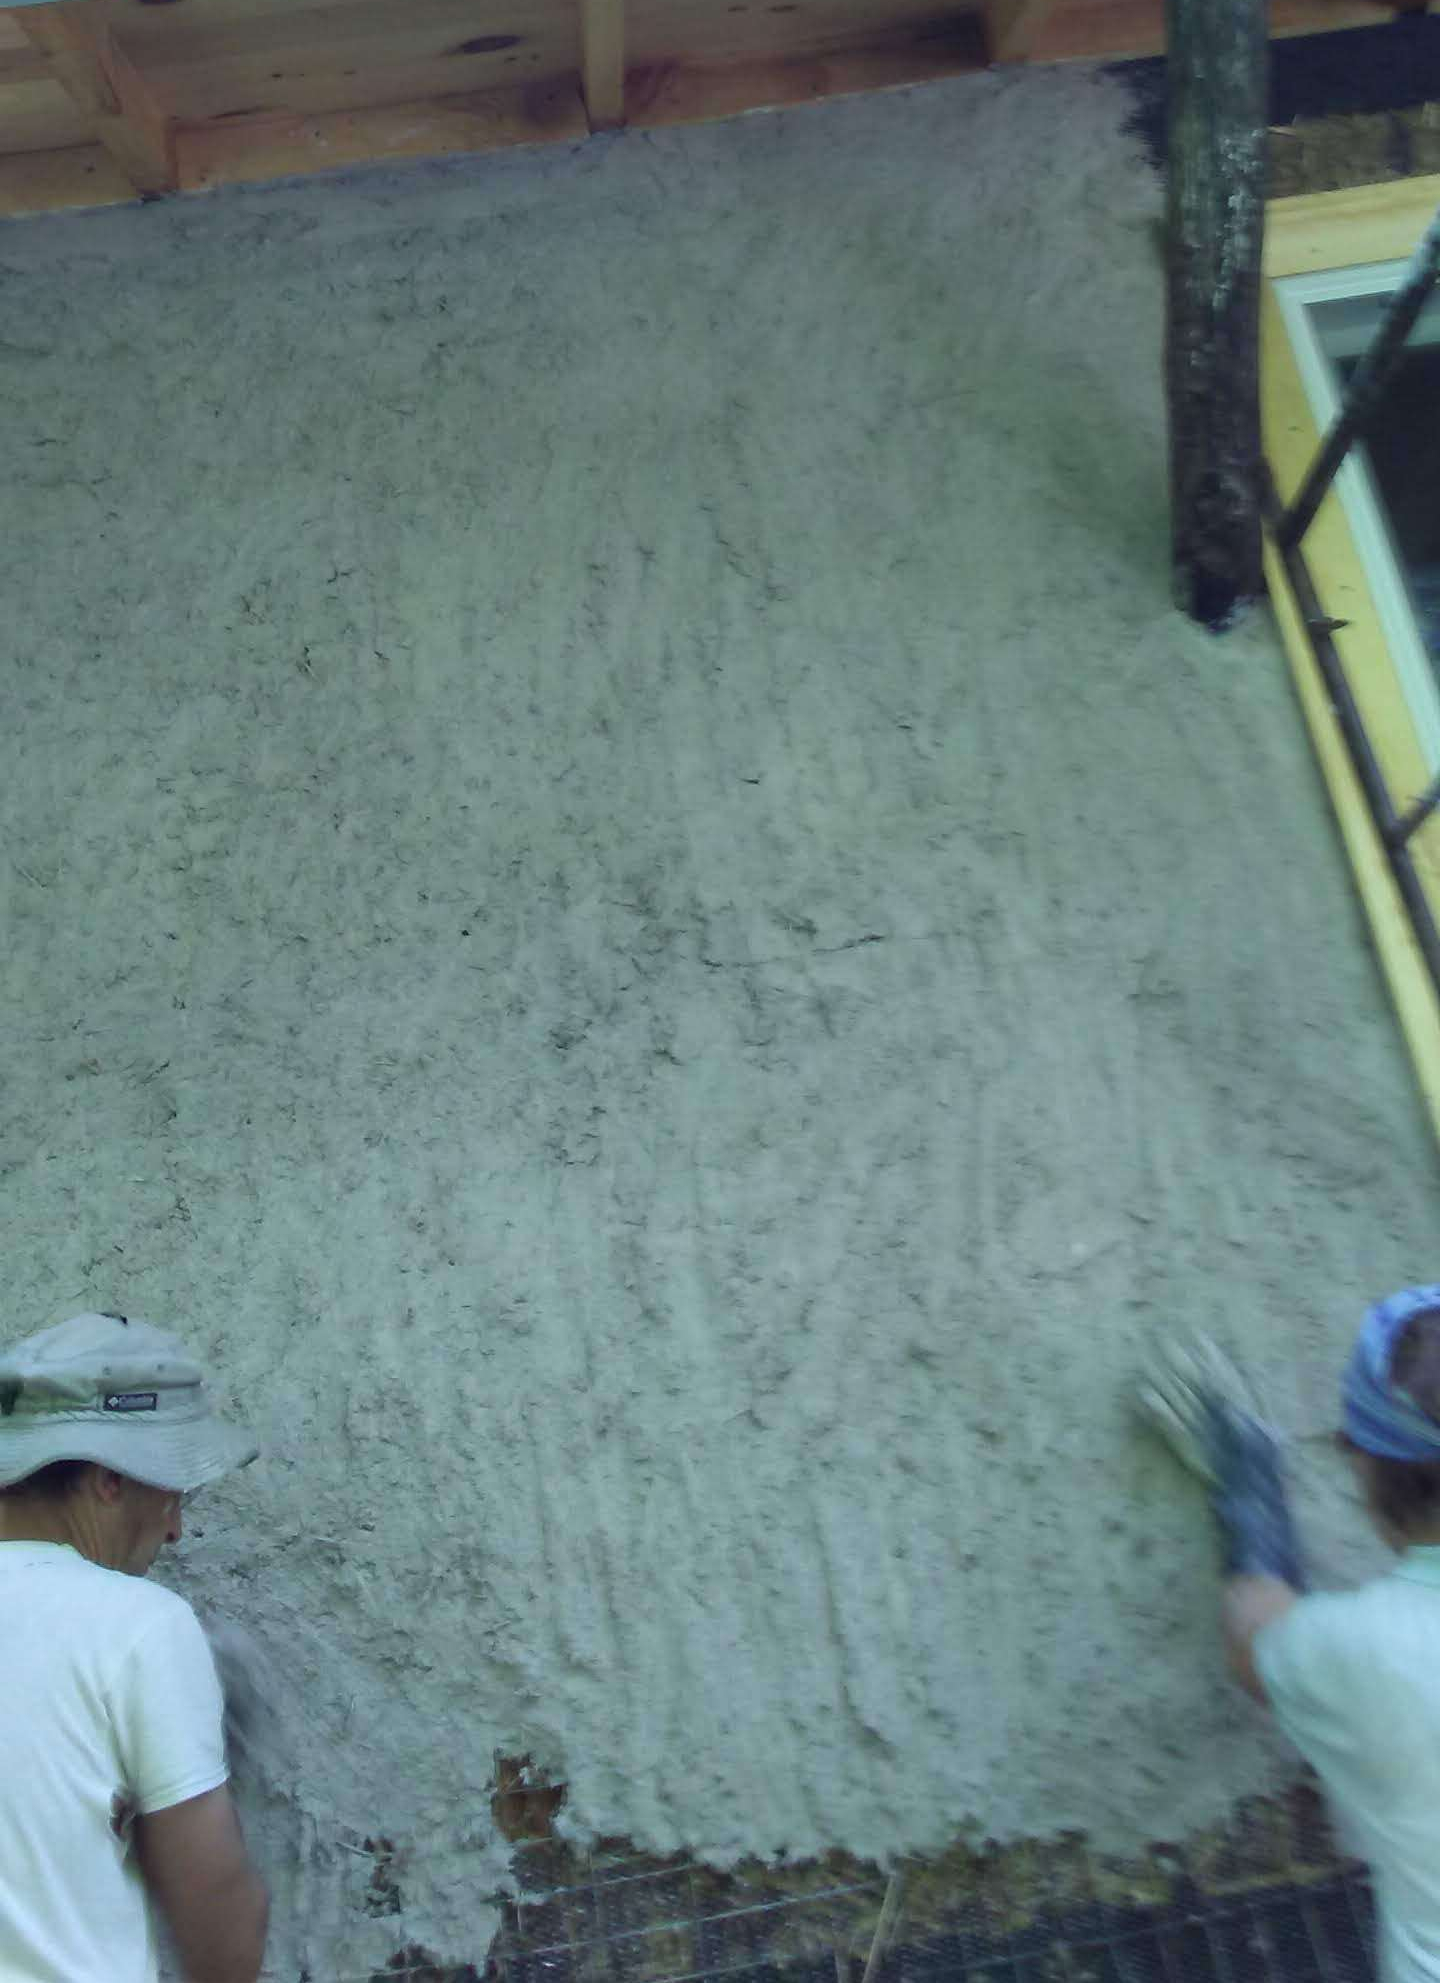
Aside from lime’s tendency to burn the skin and its just-plain-heaviness, the plaster is quite a pleasurable material to work with. Once we got the hang of it, we could slap it on almost quickly, smearing and shaping to our gloved hands’ content. The experts use a hawk and trowel, but we found that those tools require the strength and endurance of very specific muscles which we have yet to develop. So rubber gloves and a bucket it is!

The plaster was easy enough to apply, so everybody gave it a try.

Some people call the first coat the “harl” coat because you’re supposed to “harl” the plaster into the wall to get a good bond between substrate and plaster. This is also super fun. You gather a snowball-sized ball of mud into a hand and harl it into the straw, then smear upward with any remaining plaster in your glove. As a potter, I took to the whole process and the material intuitively. My printmaker husband, I suspect, found it less than intuitive, but still plodded along gamely. He knows I mostly keep him around to mix plaster anyway.
By the end of the first day, we finished one outside wall, and this is how we felt:

It looked great. Once our work had set up a little, we scratched it with a homemade scratching tool to give the surface more tooth to bond with the next coat. Hence people also call this the scratch coat.


We continued the next day, just a touch sore from the previous day. Covering the work of the day before with a tarp helps to slow the drying and allows the plaster to cure slow and hard, but sadly has also dampened our sense of accomplishment, since to this day we have yet to see the entire house plastered and uncovered.

By the end of the fifth day, we finished the entire exterior, but there’s no picture of that because the house looked much like it has in the past: swathed with a tarp, as familiar as that hoodie you keep handy to pull on when the evening cools.

We took a day of rest and sent the kids to Grandma and Grandpa’s so that, fueled with a diet of summer sausage and Ritz (oddly similar to our subsistence the entire length of our honeymoon), we could more fully focus on the work of plastering the interior.
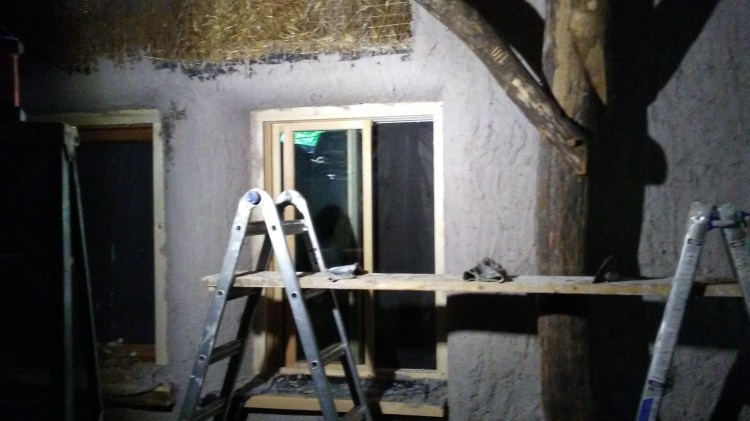
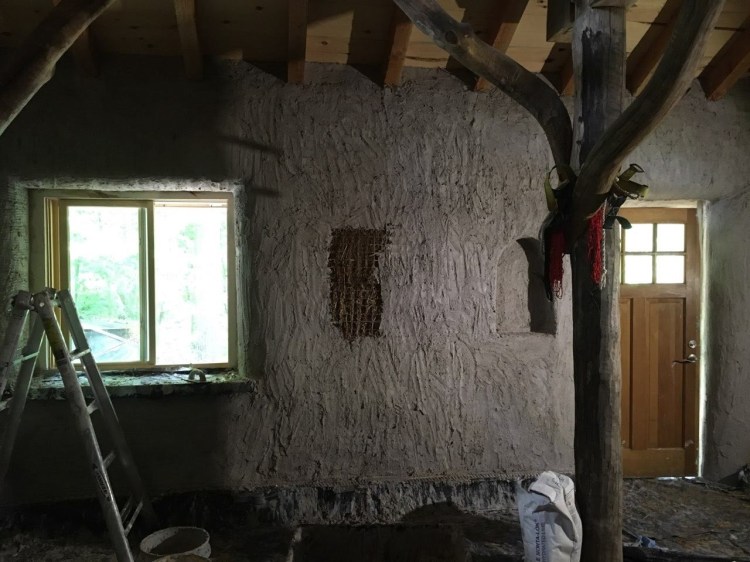
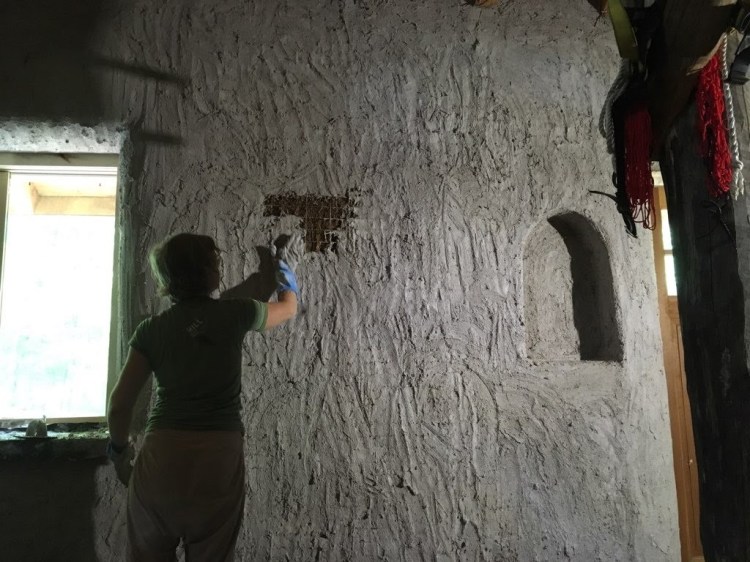
Because of the tarps, the interior is super dark so it’s hard to photograph, much less see what you’re doing when you’re plastering. But we persisted with a battery powered work light, exhilarated to watch the surface of the house emerge with each batch of plaster.


It was an amazing thing to apply a skin to these walls which we had been forming for months. All the tiny detail work, the attention paid to each nip and tuck, turned out to be well worth the work. It was a dream (a well-earned dream, paid for in blood, sweat, and tears, but a dream nonetheless) coming true under our very gloves. Because suddenly the straw bale walls became walls, the kind you could live inside your entire life and forget what they’re made of, the kind that becomes familiar while the seasons and the days play their distinctive shadows in each curve and hollow. Suddenly I could imagine my children’s voices ringing on these walls; I could envision meals eaten here and prayers spoken.

But back to details: you may notice we’re not doing a perfect job of keeping the woodwork clean–the plan is to come back after the plastering is done to scrape and oil the unfinished trim, then caulk the cracks that form between wood and plaster. It will be a lot of caulk.

So finally we plastered over the last bit of straw and cleaned up the tools and sat down to look at our work with relieved, exhausted gratitude. It had taken 9 of the last 10 days, which we had spent almost entirely plastering, eating a little, and sleeping, but the fact remained that the first coat was on the house, inside and out, and it was still only June. Our fears appear to have been unfounded.
We’ll take a week’s break to let our skin recover from lime burns, let the plaster cure nice and strong, and catch up on our nutrition; then we’ll hit that next coat hard. Easy peasy.

Whoa! I’m so impressed with ALL of the work you have done on your house – and all of this plaster work is so admirable. You have all done incredible problem-solving. I bow to you! Wishing you continued smooth sailing.
LikeLike
Well…all our shoulders work. 🙂 It was good to see you and Richard!
LikeLike