Timber-framing (With Bugs)

Aug, 2017

Picture this: you enter the woods in August. You’ve put on long pants, boots, and a hat, because you know the bugs can be bad. Also, it’s August and the weather is hot and still, so you can’t bear to put on long sleeves. You wear a T-shirt and, throwing your principles to the wind, spray on a layer of Deet.

It’s more humid than ever when you step into those woods. The bugs greet you with hunger. A tiny mosquito is first, on your bare arm, unaware that you have applied bug spray. She is soon accompanied by a swarm of her tiny sisters and orbited by an entire solar system of biting black flies. You begin to run.

The air is very still inside the woods; the trees breathe out humidity. Your sweaty legs have begun to stick to your pants. As you sweat, running and swatting, that poison Deet begins to burn and you picture it entering your body through your wide open pores. You imagine an early death. And just a little, you welcome it.

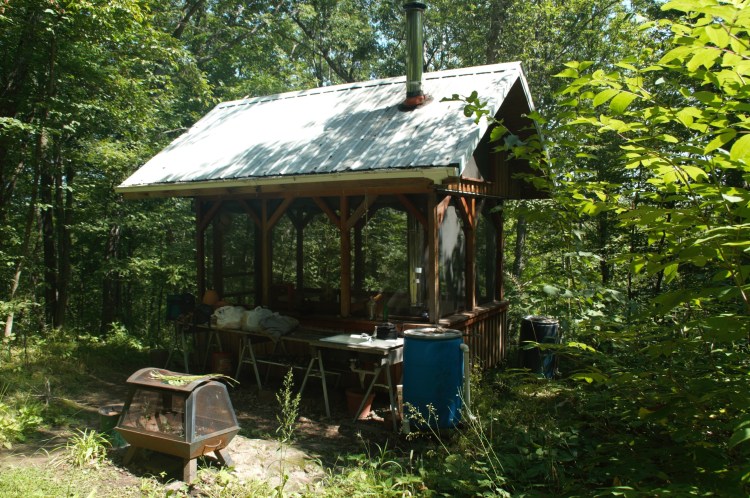
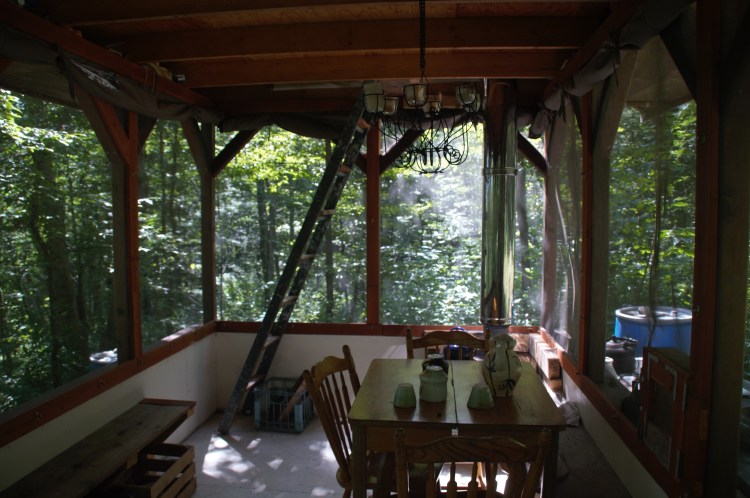
This is August in the north woods.

J., much more a man than I (obviously), has looked at the dwindling days of the building season and simply put on another layer of spray.

1500727865428
Here you can see the sheen of Deet mixed with sweat on J.’s arms. Not shown: around his head, the cloud of black flies. In fact, the image is blurry because it is very difficult, in fact, to swat a mosquito while taking a picture.

20170719_081609

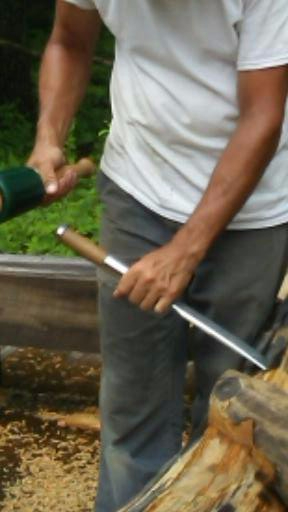
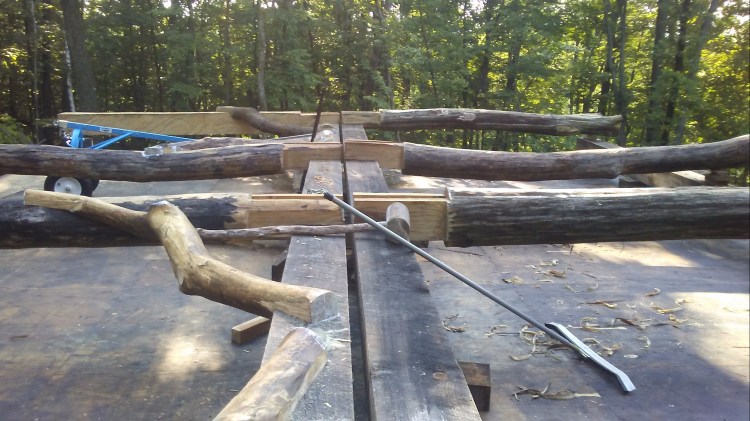
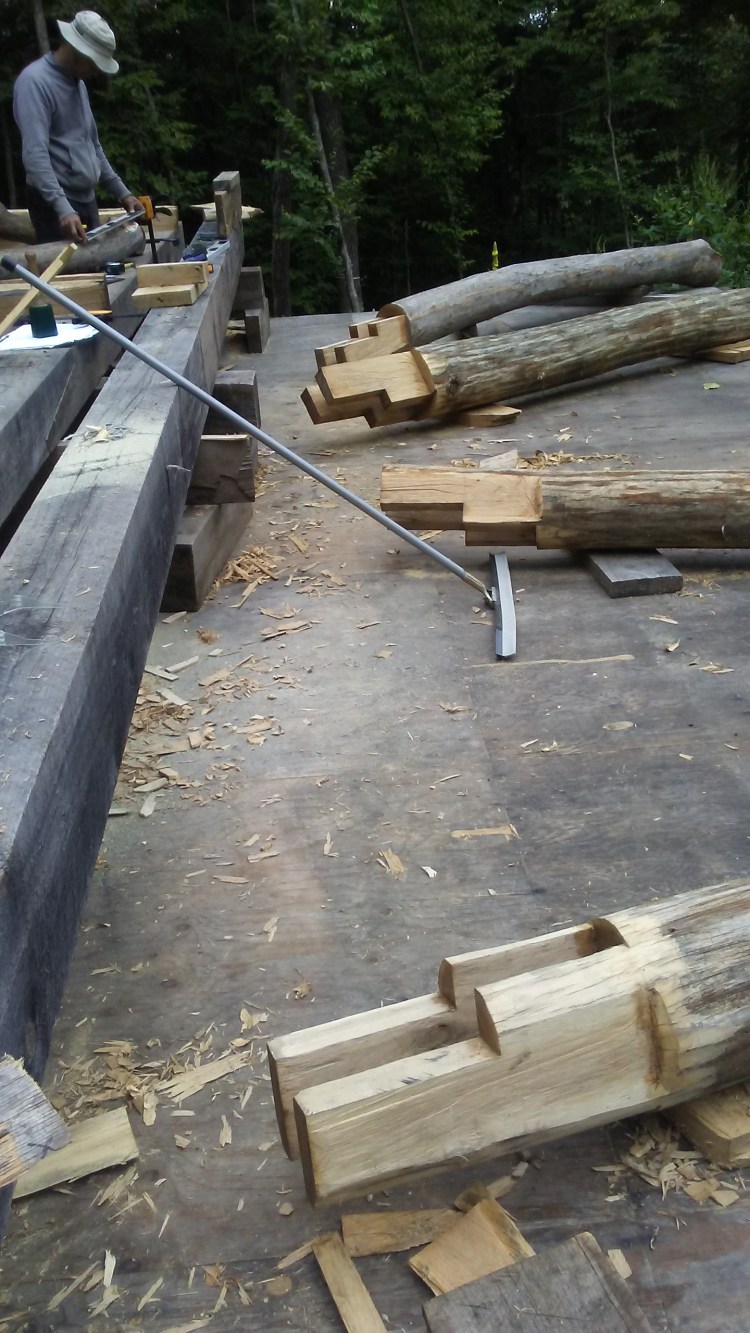
And still, progress has been made. The posts are all notched and their ends cut to the same level. Before knocking them back apart, the last step is to mark them so that, come raising day, the pieces can be reassembled like some enormous three-dimensional IQ quiz.

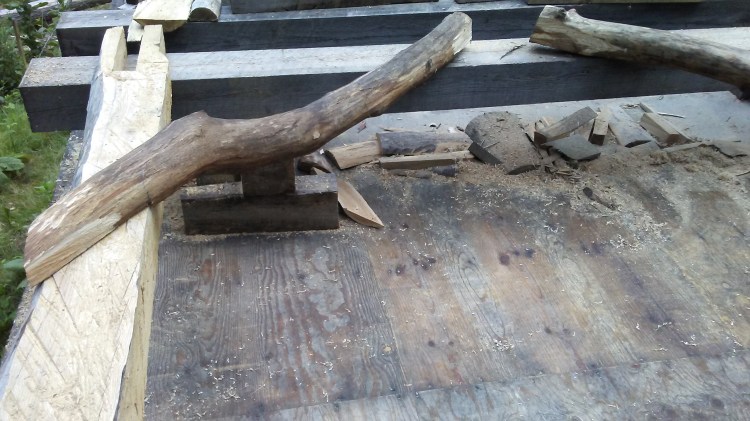
The marks remind me of cuneiform or hieroglyphs and will be visible from the finished interior of the house. I love looking at the beams, resting still on their sides, with their wonky knee braces and curious marks, and imagining them as part of our future lives in the house, silent observers of our days.

20170718_134556

20170719_082524
We use the “enforcer,” a giant mallet J. made, to knock all the posts apart. (The sound reverberates through the woods, enough to bring a neighbor or two up the hill to see what’s going on…) 

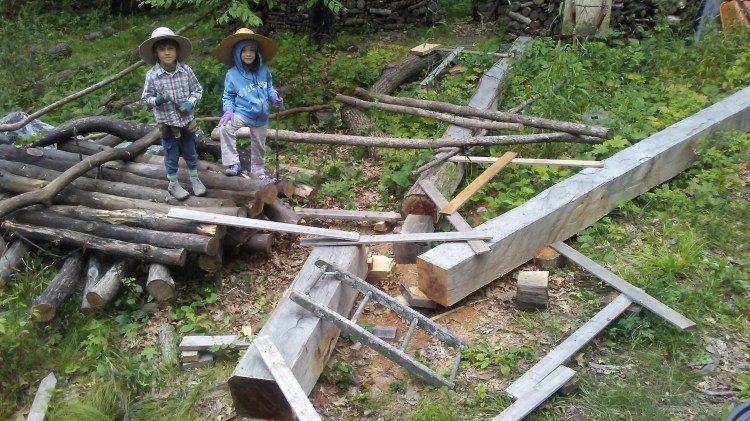
Once all the posts and knee braces were knocked apart and moved aside, it was time to bring the four giant tie beams up onto the platform for their turn to be notched. We were trying not to think about how much they weigh, but since they’re all freshly-cut oak, 8″ x 10″ x 17′, they’re a bit hefty. 800 pounds each, give or take a few.

J. and I grovelled in the dirt with a log arch, cant hook, and a ratcheting strap called a “come-along” and barely made it up the ramp with the first tie beam. We sighed, wiping the sweat away and looking at the other three tie beams. Once again shrugging off his principles, J. trotted down the hill to borrow the neighbor’s tractor.

20170730_155816
Here, three of the four tie beams are on the platform, resting on the previously notched wall plates. A few of the posts are unceremoniously stashed on the right.
20170730_155935
Once on the platform, J. used his chainsaw to trim some of the tie beams up. I say: hey, we worked hard to get that log up the ramp, and NOW you’re making it lighter?!


Every night J. comes home for supper so tired and hungry. He says he works like a peasant and eats like a king. Even now as I type, it’s 8:30pm, the kids are in bed, the house is quiet, and J. is staring vacantly at the wall. You could blame the all-day work in the hot sun. I blame the blood loss from all those mosquitoes.


Notching the Timbers

July, 2017

I know it’s been a long time since I posted (in fact, I’ve begun to refer to this site as an “occasional” blog) but I refuse to apologize. Life has been a little full lately, is all…

While the kids and I have been settling in to the Firehouse, making the apartment above into a home and whipping the studio into working order, J. has been busily about his work of building our house in the woods.

20170713_124041

The first job for him was simply to roll the logs/future timbers up onto the building platform. This would have been a lot more difficult for him if he did not have such a strong wife. Also the log arch helped. The log arch (blue tool on the left of the photo) has a pair of tongs hanging between the two wheels, with which you can grab the log, and an extendo-handle which gives enough leverage to lift the log and drag it along the ground. J. utilized both his log arch and his super-strong wife to help gather the logs from where they were dropped all along the hillside up to the platform.

20170713_130153

This ramp, a la Noah’s ark, facilitated the trip up to the platform. The cleats gave us a chance to breathe during the journey without each log rolling back down to the ground.

As a novice to this process, I wanted to know why we couldn’t notch the logs while they were down on the ground. Once notched, with some material removed, I argued, they would then be lighter to move. (The difference, I was sure, would be palpable.) J. patiently explained that since he wants the walls of our house to be vertical and the timbers to actually hold up the roof, he must be able to lay them out on a level surface. And the platform is the only level place in our 17 acres.

We’ll see who comes out ahead in that little marital disagreement…

Now that the logs are on the platform, the notching has begun. Since we’re leaving the logs round, the trick is to cut precise notches into odd shaped tree chunks–because, like us, the trees in our woods prefer not to grow in straight lines. So first, J. finds the center line of the top of each log by snapping a line from the middle point of the bottom end to the middle point of the top end. Now he knows enough to square off the top the logs and then, using the chainsaw, cut giant “ears” into them. In this picture, four of the posts are loosely lined up, with the wall plate that will receive them on the left.20170713_124252

Since the cuts of a chainsaw is a quite rough, each joint must be significantly refined with a chisel. (You guessed it, this is where my grunt labor comes in again…) We have these lovely timber-framing chisels that, when sharp, are a joy to use. They cut pine timbers like butter, and our tough, stringy oak timbers like, well, pot roast. A tender pot roast. Maybe not the best analogy.

Once the ears on the posts are cut, they must be “let in” to the wall plates an inch or so:

20170713_124307

Of course they must be square, or so J. tells me, so the wall will stand straight. Here’s our giant homemade square:

20170713_130126

Once the posts are perpendicular to the wall plate, we let in the diagonals, which hold everything square. The diagonals are, inexplicably, called “knee braces.”

20170713_193338

These will be pegged in place, but the joint is also notched with a dovetail so that if the peg breaks or rots, the knee brace will still stay in place.

I’m sure J. has been working hard and doing good work, but while this has been going on something has actually been accomplished:

20170713_193224

And here’s the finished fort, with its proud resident/builders:

20170713_124207

See if you can beat that, Papa!


Progress has been made!

April, 2017.

Here’s a little update on the new space: our January work party was a huge boost, both to the work-pile in front of our noses, and to our spirits. Here are a few photos of the swarm of friends as they attacked the studio, tearing our carpet, pulling down walls, bagging up bales of insulation, and pealing away the dropped ceiling:

DSC00380

DSC00383

Our heartfelt thanks to all who showed up! What a difference your hard work made! I wish I had a picture of the whole group of you, and also the exhausted group who sprawled in the kitchen eating chili and propping their heads up with dusty fists.

Even more work has been done since then, but this will have to do for now. We’ll be installing new lights soon, finishing the walls, and, finally, setting up the studio!

DSC00386
Check out the I-beam exposed by our zealous workers! You can also see the outline on the floor of the wall they tore out.

Screen House Living

April, 2017. Before the building season begins, it’s time for a little reminiscing…

It was March, 2010, a month before our second child was due, and J. and I were determined to spend a romantic weekend on our brand new (to us) woodland in Wisconsin. We had a tent set up, which we imagined as our base camp from which we would explore our woods and raise our children to be at one with nature.

It took exactly that night to change our plans. We spent a (not very romantic) night listening to the creeping nocturnal things creep around just on the other side of the tarp- tent walls, listening to the coyotes howl, and to the open bottom of our tent as it sighed in and out against the crumpled leaves on the ground–as if it or the woods itself were alive and breathing.

We roused ourselves in the morning and began to make other plans. Solid walls. A floor. A roof. Perhaps a place to leave our stuff, to minimize the schlep of camping. A place big enough to eat breakfast in, but small enough to encourage us to hang out outside. Somewhere to be that still feels as if we’re outside, while not getting bit by bugs. Somewhere to play board games in the rain. The idea of the Screen House was born.

Screenhouse (2)

It’s a screened porch, with no house attached, and a sleeping loft above. It measures 12 feet by 8 feet, but the view, as they say, is grand, with a 360 degree view of the woods around us.

J. built it with no electricity. He discovered the joy of hauling four by eight sheets of plywood up the hill with his hands and back, since I was, by then, home with our newborn and toddler. I believe he wore out a few handsaw blades cutting that plywood. A few years later he did have a little help on some improvements:

dscn3007dscn3008

Besides this expertly-built front stoop, the improvements included fabric walls which I sewed to be roll-up walls for the screens. We installed a tiny wood stove with a water jacket, so what we have now is a screen porch for summer and a wall tent for winter. Upstairs, futon mattresses cushion our sleep, downstairs is a table with chairs and benches along the walls, with storage below. Outside, a rain barrel with a countertop and dry sink beside it make up our kitchen. In the winter we cook on the woodstove; in summer we cook outside on a little stick-fed stove.

looking in

upstairs
Sleeping loft


inside

The Screen House has been an exercise in peeling back the accoutrements of living to their essentials. What exactly IS necessary in a kitchen besides a place to chop and cook the food, and a vessel to wash the dishes in? What do we expect from our shelter besides exactly that? What labor are we willing to embrace for our life-sustaining necessities, and what technology do we hope to finagle in order to make our lives easier? In short, what can we live without, and what, after all, can we not?

dscn2672

The Screen house has been an incubator in which we have experimented with and finagled those alternative systems for dealing with the stuff of life: sawdust toilets, solar power, rainwater collection, solar hot water, food preparation, bathing, keeping warm, greywater redemption. We hope to make use of what we’ve learned in the design of our bigger, but not quite big, house in the woods.

Our little screen house has quietly overseen the falling-in-love that has happened over the years between us and this little woods. At its tiny table we’ve dreamed our dreams and began rebuilding our life with our minds. What a place, that 8 x 12 spot on the earth!


In the Meantime…

December, 2016

Following our most optimistic schedule, we have two years before our little house in the woods will be ready for living. How can we continue to maintain our city house so far away from the one we are building? How many times do we have to pack up and drive for an hour and a half between the two? Wouldn’t we be able to finish the house so much faster if we lived closer? Also, how much harder in two years will it be for our children to leave their school friends and transplant themselves into another school? And, in two years, Great, we have a house! Now do we start work on a clay studio right away, and where will I work until it’s finished?

We’ve been pondering these questions for the last year or so and have finally settled on a solution. This month, we bought a fire station.

dsc00309

It was a deal we couldn’t pass up. Located on the downtown strip of Frederic, Wisconsin, it’s just a few minutes from our place in the woods. Formerly the fire station, jail, village hall, and library (hopefully not all at the same time), now it’s a classy modern office space, complete with a break room and upstairs offices. We call it the Office Tower.

For us, it’s a nearly perfect solution. The main floor will fit my studio and even a little one for J. I’ll have enough room to even teach classes someday, if I feel like it…

dsc00307

dsc00308
J. is maybe less than pleased at the amount of space “we” have allotted him…

We can live in the upstairs until the Woods House is done. There’s plenty of room for everyone to sleep, for the kids to have their stuff, and a living area for cozy evening family time. I love (read: LOVE) that the place is downtown, walking distance from groceries, hardware store, restaurants, post office, butcher shop, doctor, dentist, bakery, laundromat, and more. I also love that we’re transplanting ourselves into a community, so that in this transition time between city life and rural life, we’ll begin knowing new folks and being known.

All the place needs is a little sweat equity. So we’ve gotten right to work.dsc00310-1

In the first stage of renovation, we plan on peeling out anything “officey” (sorry, all you dropped ceiling aficionados) and taking out a few walls to open up the space into a proper studio space. The carpet downstairs will also have to go. No self-respecting potter can work on carpet. Eventually, we would love to return the building to its original charm as 1920’s era firehouse.

Eventually.

dsc00315dsc00314

We plan on doing the work carefully so that anything salvageable can be reused. Hopefully at the end of tear-down we’ll have a pile of building materials to use either on this project or the one in the woods. Including all that pretty pink insulation.

dsc00306

And somehow we’ll also have to find the time to turn this classy break room into an actual kitchen.

All this work is cheap and fun, but it does take lots of time. And although the Office Tower has moved up our big move to this spring (!!!), we’re still commuting that nifty hour and a half to do the work. I had hoped that this winter would be a time of rest for our family from the work of building in the woods, but now we find ourselves launching a new project and once again running back and forth from the city on weekends, pawning the children off on Grandma so we can “get some work done.”

Hmm…Did I just hear someone say “Work Party”?